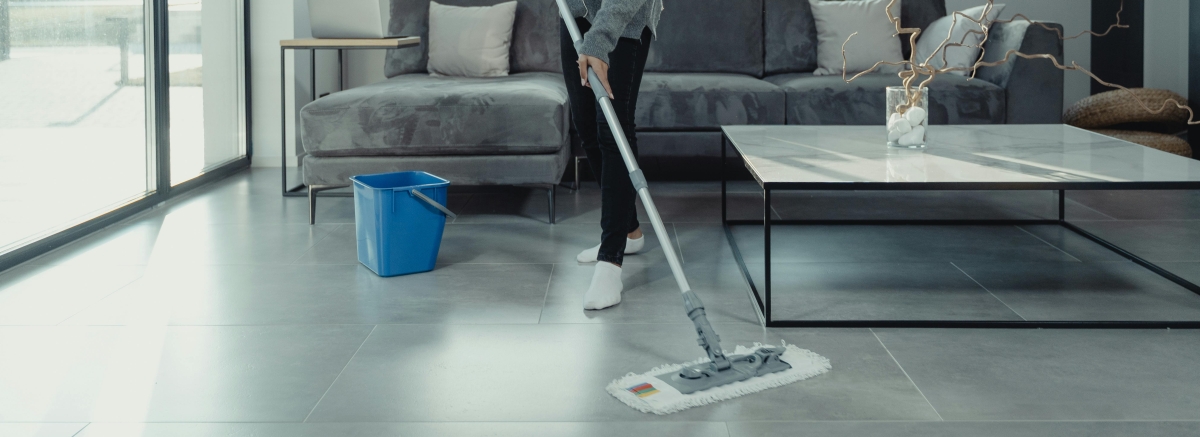
When it comes to housekeeping, mopping can be a controversial subject. Some swear by steam mops, while others caution against them. Some people mop daily, while others go weeks between floor washing sessions.
But the best mopping method usually lies somewhere in between.
There are general mopping rules you should never break, while others vary based on floor type. Before you bring out the ol’ mop and bucket, here’s what to consider.

Mistake # 1: Not Sweeping Before You Mop
The cardinal sin of mopping is not sweeping first. Even if your floor appears dirt-free, small dust and debris particles are probably lingering. When you run your mop over dirt, it will act as sandpaper, leaving tiny scratches on the floor and ruining any topcoat.
Be sure to thoroughly sweep and vacuum before you mop.
Mistake # 2: Using Too Much Soap (If your floor has a hazy build-up, you’re definitely doing this!)
It’s trendy to mix several cleaners, like laundry pods, all-purpose disinfectants, and even dishwasher tabs, into a giant bucket and use the solution to mop. Not only can this create hazardous fumes, but it will also leave a hazy build-up on your floor.
When mopping, use the recommended amount of soap, usually about a quarter cup of solution per gallon of water. Only use the cleaning solution recommended for your floor type, and avoid laundry or dish soap.
If your floors already have a hazy build-up, use a mixture of water and white distilled vinegar to help eat through it.
Mistake # 3: Steam Mopping Floors with Seams or Planks
I’ll be the first to admit that I love my steam mop. Nothing makes my floors look cleaner than steaming them. However, because steam mops emit such high heat and moisture, they can penetrate gaps in the floors and cause warping.
Never steam mop laminate floors, as they’re the most sensitive to steam. Also, be wary of steam mopping hardwoods or vinyl plank or tile, as the steam can seep below and ruin the adhesive.
Mistake # 4: Damp Mopping Unsealed Floors
Unsealed hardwoods are the most difficult to clean. While they have a natural look, a lack of a topcoat makes them porous. They’ll absorb any moisture you place on them, causing mold, water spots, and warping.
Vacuum or dry mop unsealed floors. Wipe up any spills quickly and spot-clean extra-dirty areas.
Mistake # 5: Not Washing Your Mop Head
A dirty mop head not only smells bad but strings dirt and bacteria along the floor. If you’re using an old-school sponge mop, it’s time to throw it out. Invest in a mop with a washable microfiber head. Spin mops, spray mops, and electric mops are all good options.
Toss your mop head in the washer after every use to combat bad smells and bacteria.
Mistake # 6: Mopping in the Wrong Direction
If you follow all the rules but your floors look splotchy, a simple fix could be mopping in a different direction.
Run your damp mop back and forth in sections, starting at one corner of the room and working to the other side. This creates a consistent pattern and ensures that you don’t step on any sections you’ve already cleaned.
Mistake # 7: Using Vinegar to Mop Sealed Floors
You’ll see vinegar in just about every homemade mopping solution recipe online. But here’s the hard truth: vinegar is highly acidic and can eat through your flooring’s top coat.
Occasionally, using diluted vinegar on your floors isn’t going to cause noticeable damage. But if you repeatedly clean them with high-strength vinegar, the acetic acid content will eat through the polyurethane or clear coat finish, leaving your floors unprotected.
Also avoid vinegar or delicate stone floors such as marble or slate. It can leave white etch marks.


