So you’re finally ready to plant up an area of your garden. How do you ensure you’re giving your plants the best possible start? In part 5 of my series on making A Garden from Scratch (scroll to the bottom for the other installments), I look at one border in my own garden and explain how I prepared it and put it together.
1. Get the timing right.
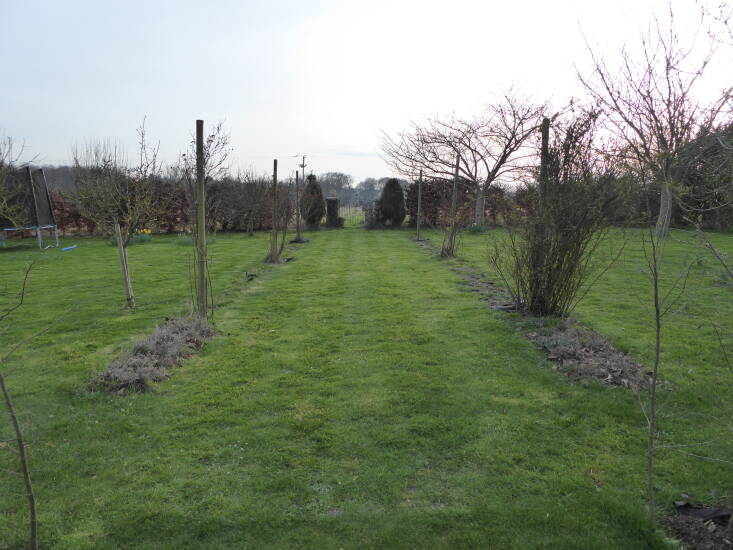
Autumn and spring are perfect times to get a border planted, giving plants a chance to settle and send out roots when soil is likely to be warm and moist. Because I am nearly always running behind, the new border here would eventually go into the ground in early May. It’s not ideal timing as they need a lot more attention and irrigation if there is prolonged hot weather, but in reality it’s feasible to plant perennials at any time the ground is not frozen—just be prepared to keep an eye on them in summer.
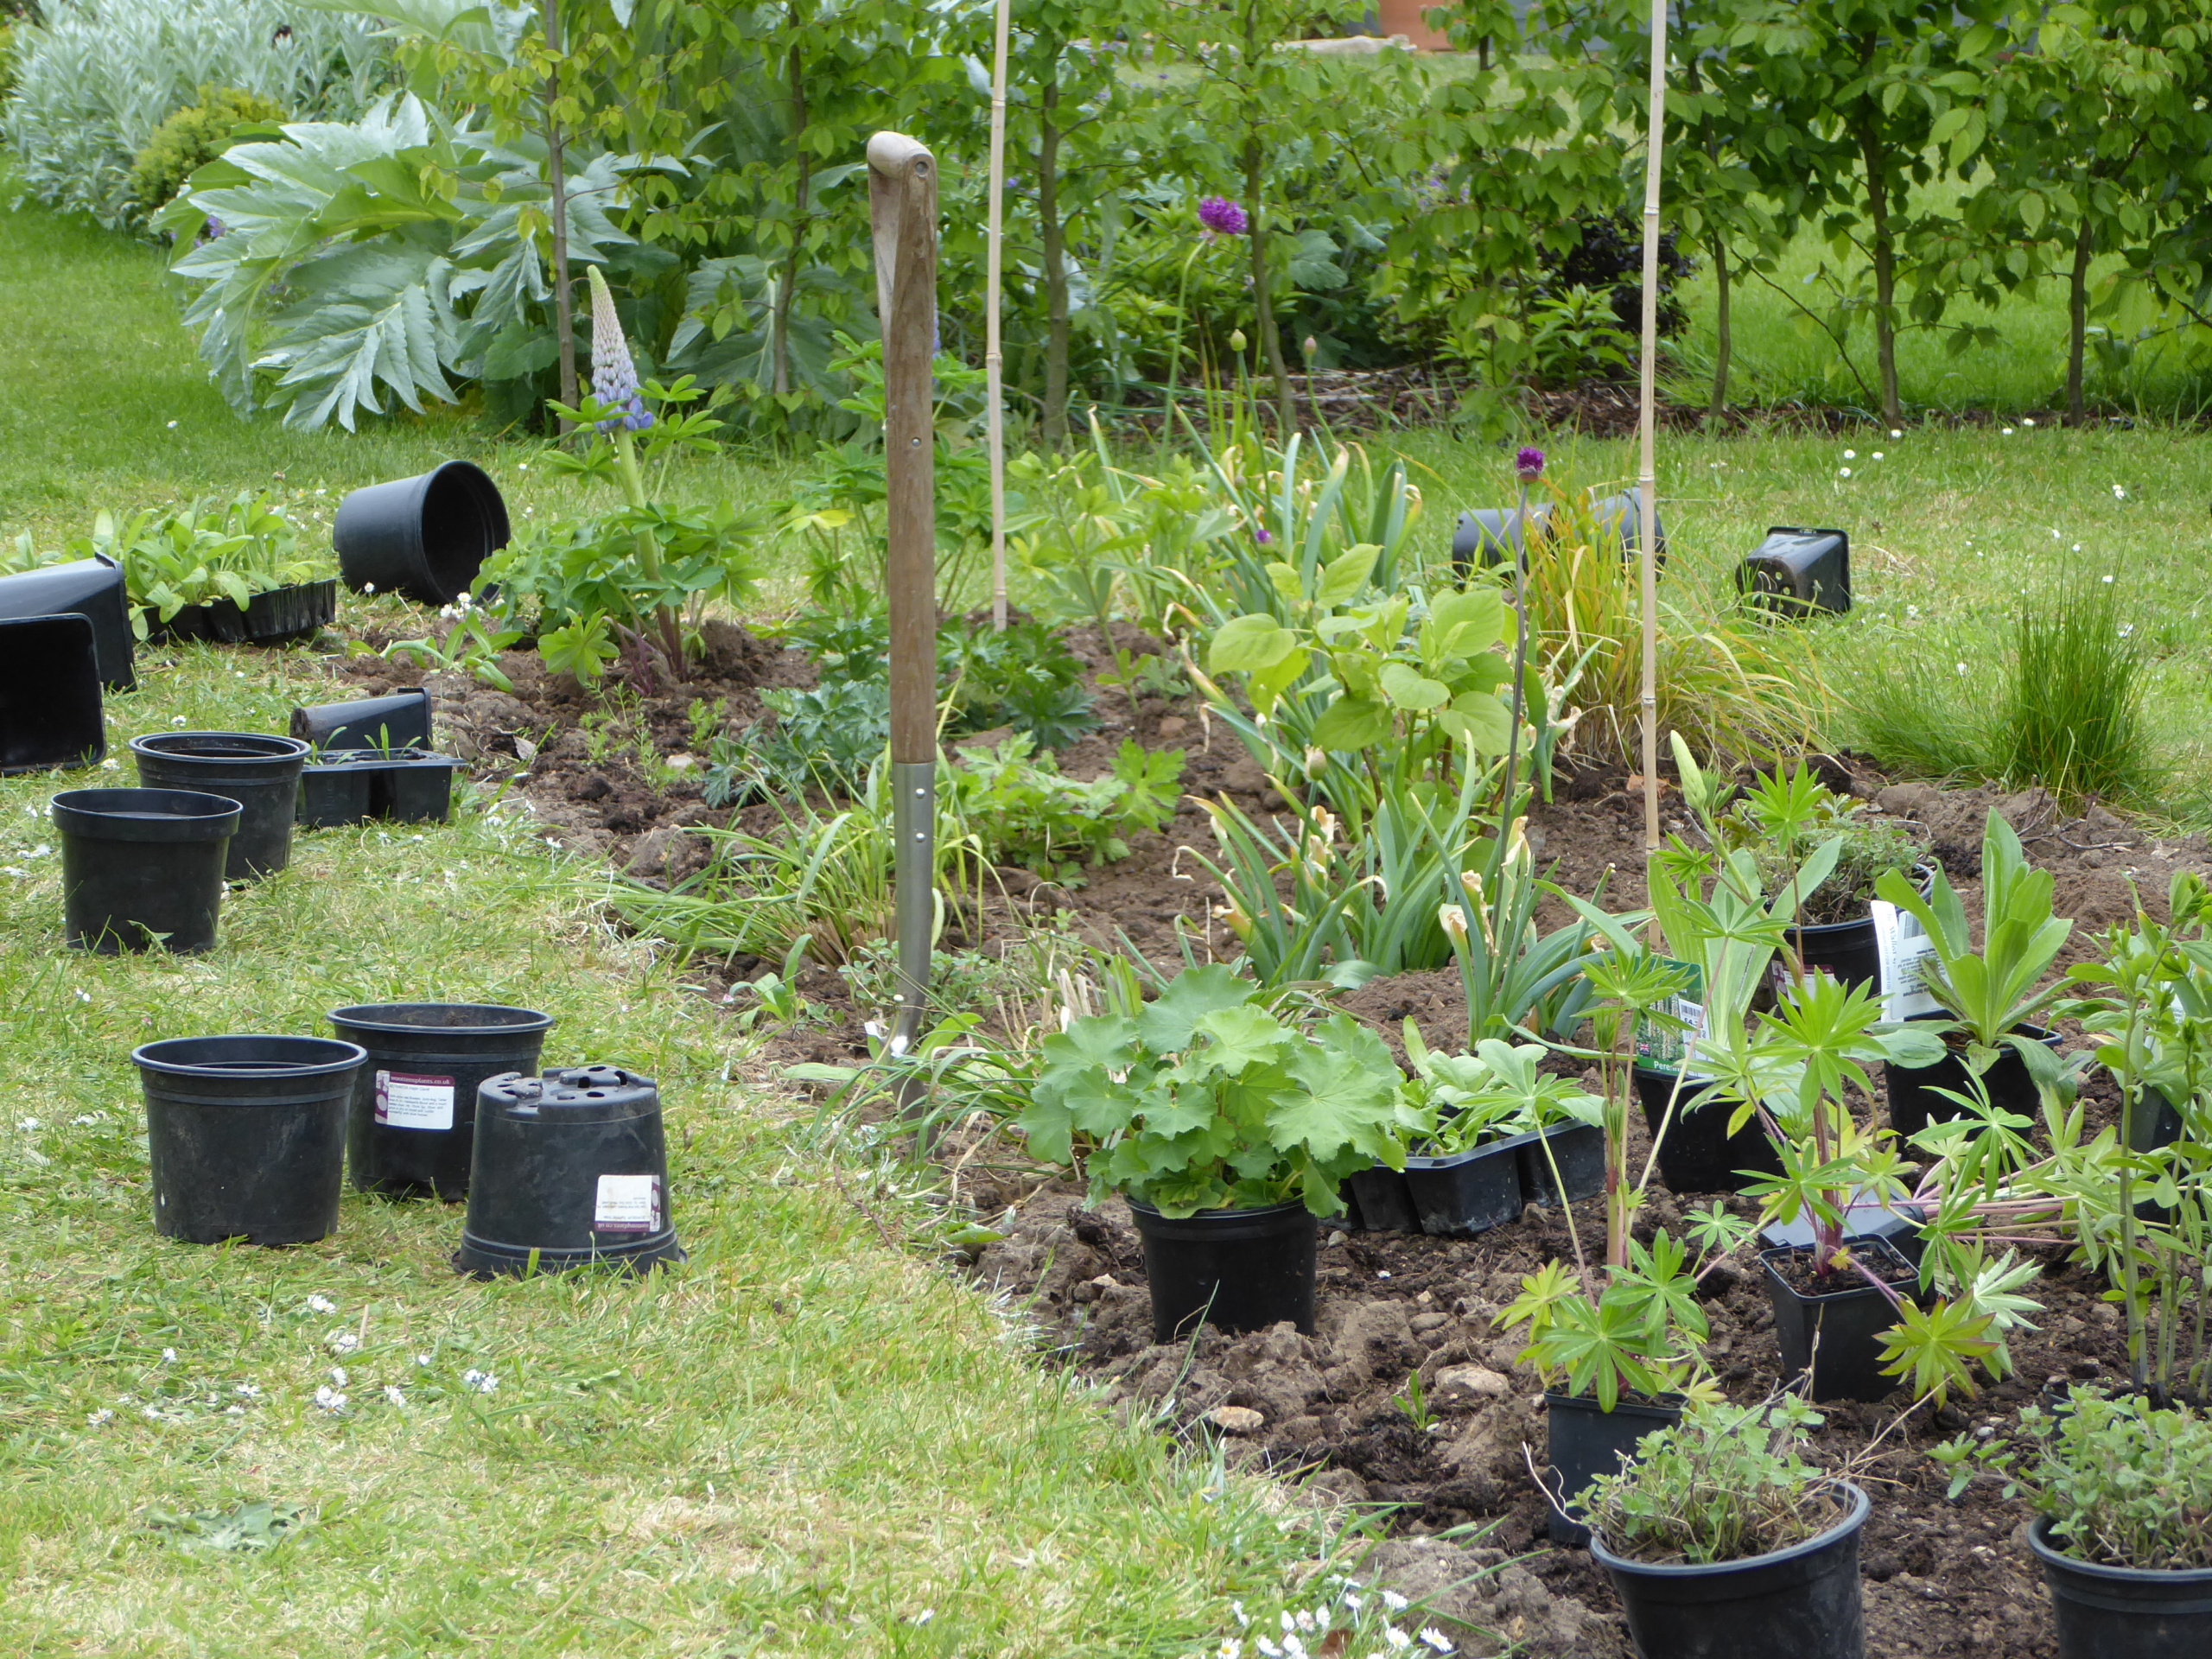
Make sure you have all your plants gathered, ready for planting. If you are buying plants and want to keep costs down, know that 9-cm plants will be the most economical, while 1-liter or 2-liter plants will provide more instant impact. That said, those small plants will have caught up with the larger plants within one season and definitely within two seasons. If you’ve got time, growing some of the plants from seeds or cuttings will be the most economical of all. You can also divide plants from elsewhere in the garden, too, creating more plants for free. (See Your First Garden: How to Start a Garden for Practically Free for other ideas.)
2. Enrich the soil.
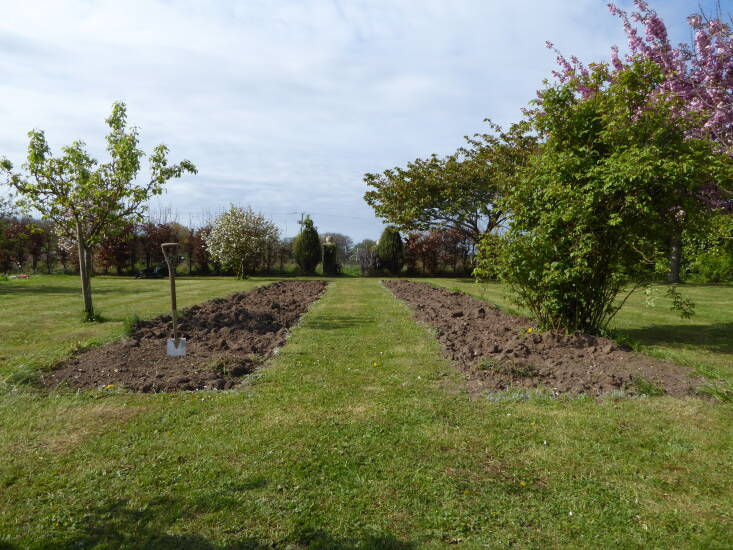
I widened the existing border as much as I could while still leaving a path through the middle. At this point it can feel like there’s a lot of space, but once plants mature and grow over the edges this central path will narrow considerably. As this area has poor very free-draining soil, I dug in well-rotted manure through the whole border to prepare it for planting; whatever your soil type, the most beneficial thing you can do at the outset is to add as much compost as you can to enrich the soil.
3. Lay out the plants.
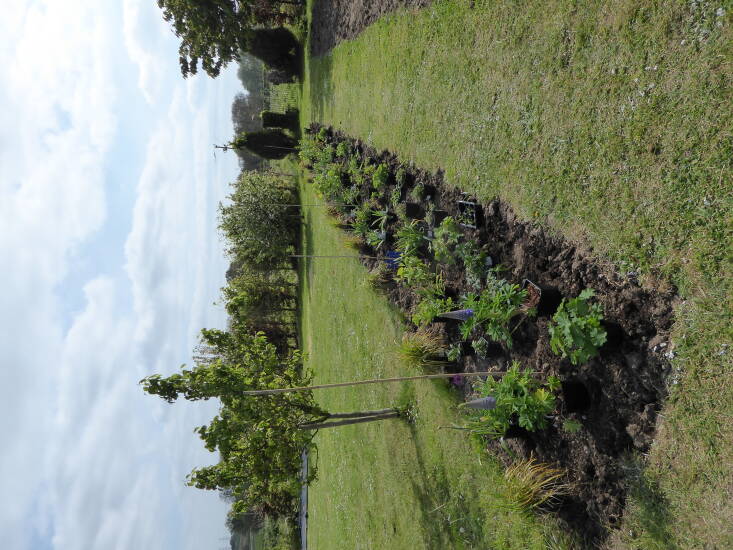
Place all of your plants along the border where you think you’ll want to plant them. Then spend some time considering how the plants will look as they grow. Think about how wide they will spread and allow enough space for plants to grow (check the plant label for approximate dimensions). Group perennials together in threes or loose triangles which will create more impact with blocks and color. What you are trying to create is a naturalistic feeling rather than regimented order. (See A Garden from Scratch: How to Choose Plants and Put Them Together for my tips on plant composition.)
Repeat some plants through the length of the border to help create rhythm. In this border, Alchemilla mollis, Geranium ‘Rozanne’ and Calamagrostis ‘Karl Foester’ are repeated down the length of the bed. And leave space for self seeders—over time, if you prefer a more naturalistic look and you’re happy to encourage self-seeders, your border will fill out with these volunteer plants. This border has several self-seeders, especially Salvia turkestanica, Digitalis parviflora and D. ferruginea gigantea, and occasionally Baptisia australis and Alchemilla mollis, creating free plants and a more abundant and lush border.
4. Get digging.