
Stefan Gheorghe is the founder and CEO of Homedit.com. In 2008, he launched the platform out of his passion for interior design and home decoration.
| Updated on |

Chelsea is the blogger and creative behind Farm Fresh Therapy – a DIY, home decor, and lifestyle blog where she also creates and captures adventures in the Midwest.
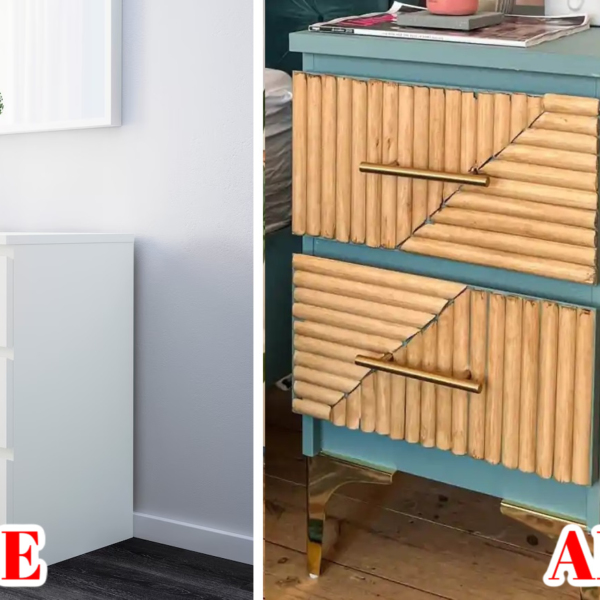
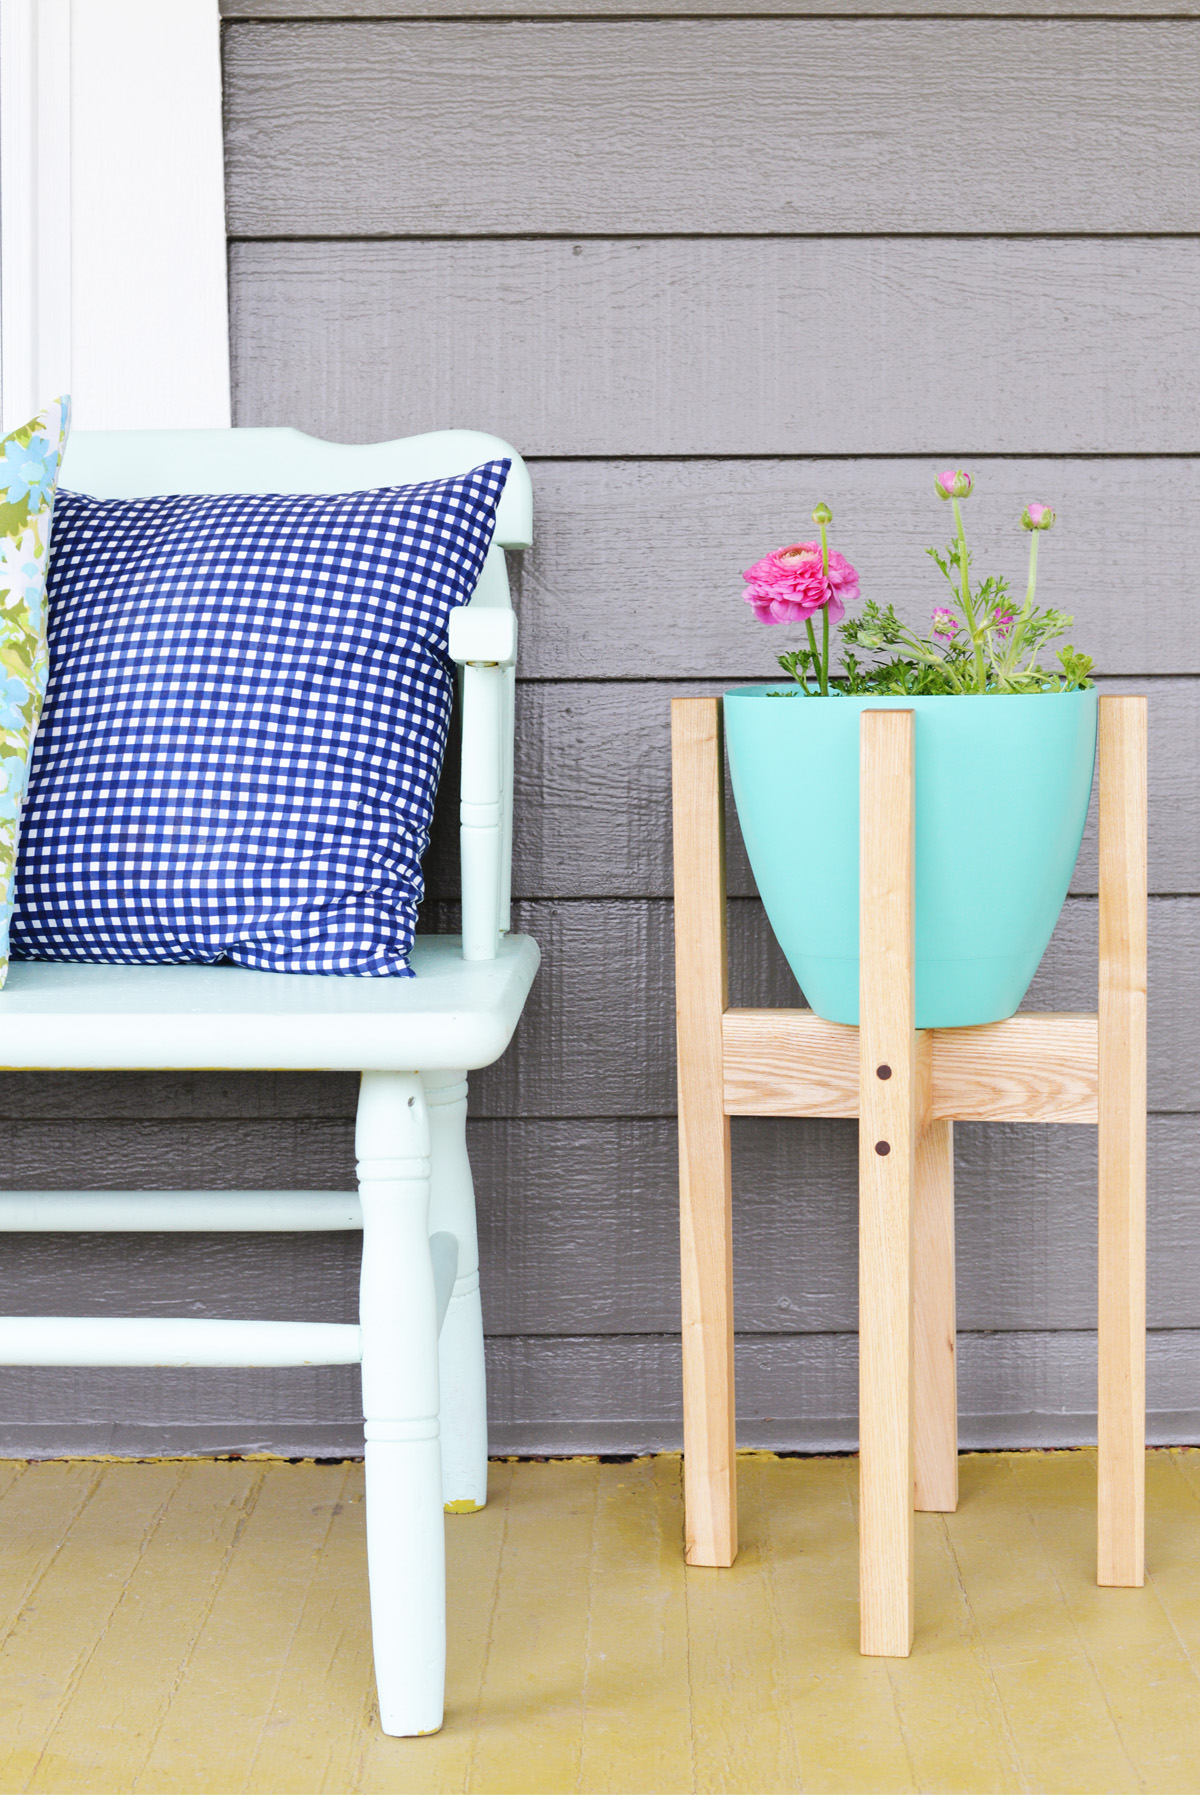
This DIY plant stand is easier to make than you think and has a sleek, modern look. With just a few materials and no woodworking experience required, you can create a stylish mid-century-inspired stand

Materials:
- Planter
- Saw
- Drill
- Wood dowel
- Forstner drill bit (coordinating diameter with your wood dowel)
- Wood glue
- 1×1″ wood boards
- 1X2″ wood boards
- Pencil
- Sanding block or paper
- Hammer

Step 1: Measure and Cut
Measure your planter’s height and diameter. Cut four 1×1″ boards for the legs and three 1×2″ crosspieces—one the planter’s diameter and two slightly shorter.
Step 2: Set the diameter
Mark the center of your longer diameter piece in the center.

Step 3: Drill and Cut Dowels
Drill two evenly spaced holes through each leg and into both ends of the 1×2″ crosspieces (about 1 inch deep). Then, cut the dowel rod into 2-inch pieces for assembly.
Step 4: Assemble with Glue and Dowels
Apply wood glue to the holes in the long center board, then insert the dowel pieces. Attach the shorter crosspieces in an X shape using dowels and glue. Drill two evenly spaced holes through each leg, then secure them to the X-shaped center with dowels and wood glue.

Step 5: Final Assembly and Finishing
Use a hammer to secure the legs and dowels tightly, wiping off any excess glue. Saw off any excess dowel, then sand smooth. Once dry, place your planter in the base. Finish with vegetable oil or polyurethane for water protection. Let dry overnight before adding soil and plants.