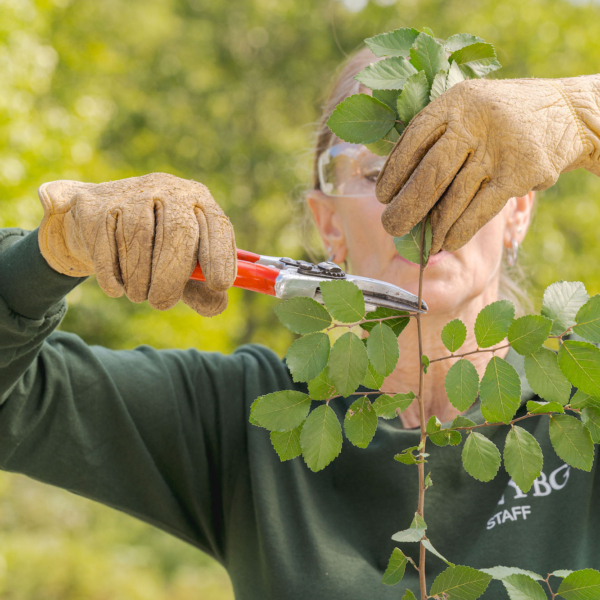
2. Using the knife or the pruners, make a clean cut to remove the cutting without damaging other possible cuttings. As you continue to take cuttings, make sure to dip or wipe your knife or pruners in a 10 percent bleach solution between cuts.

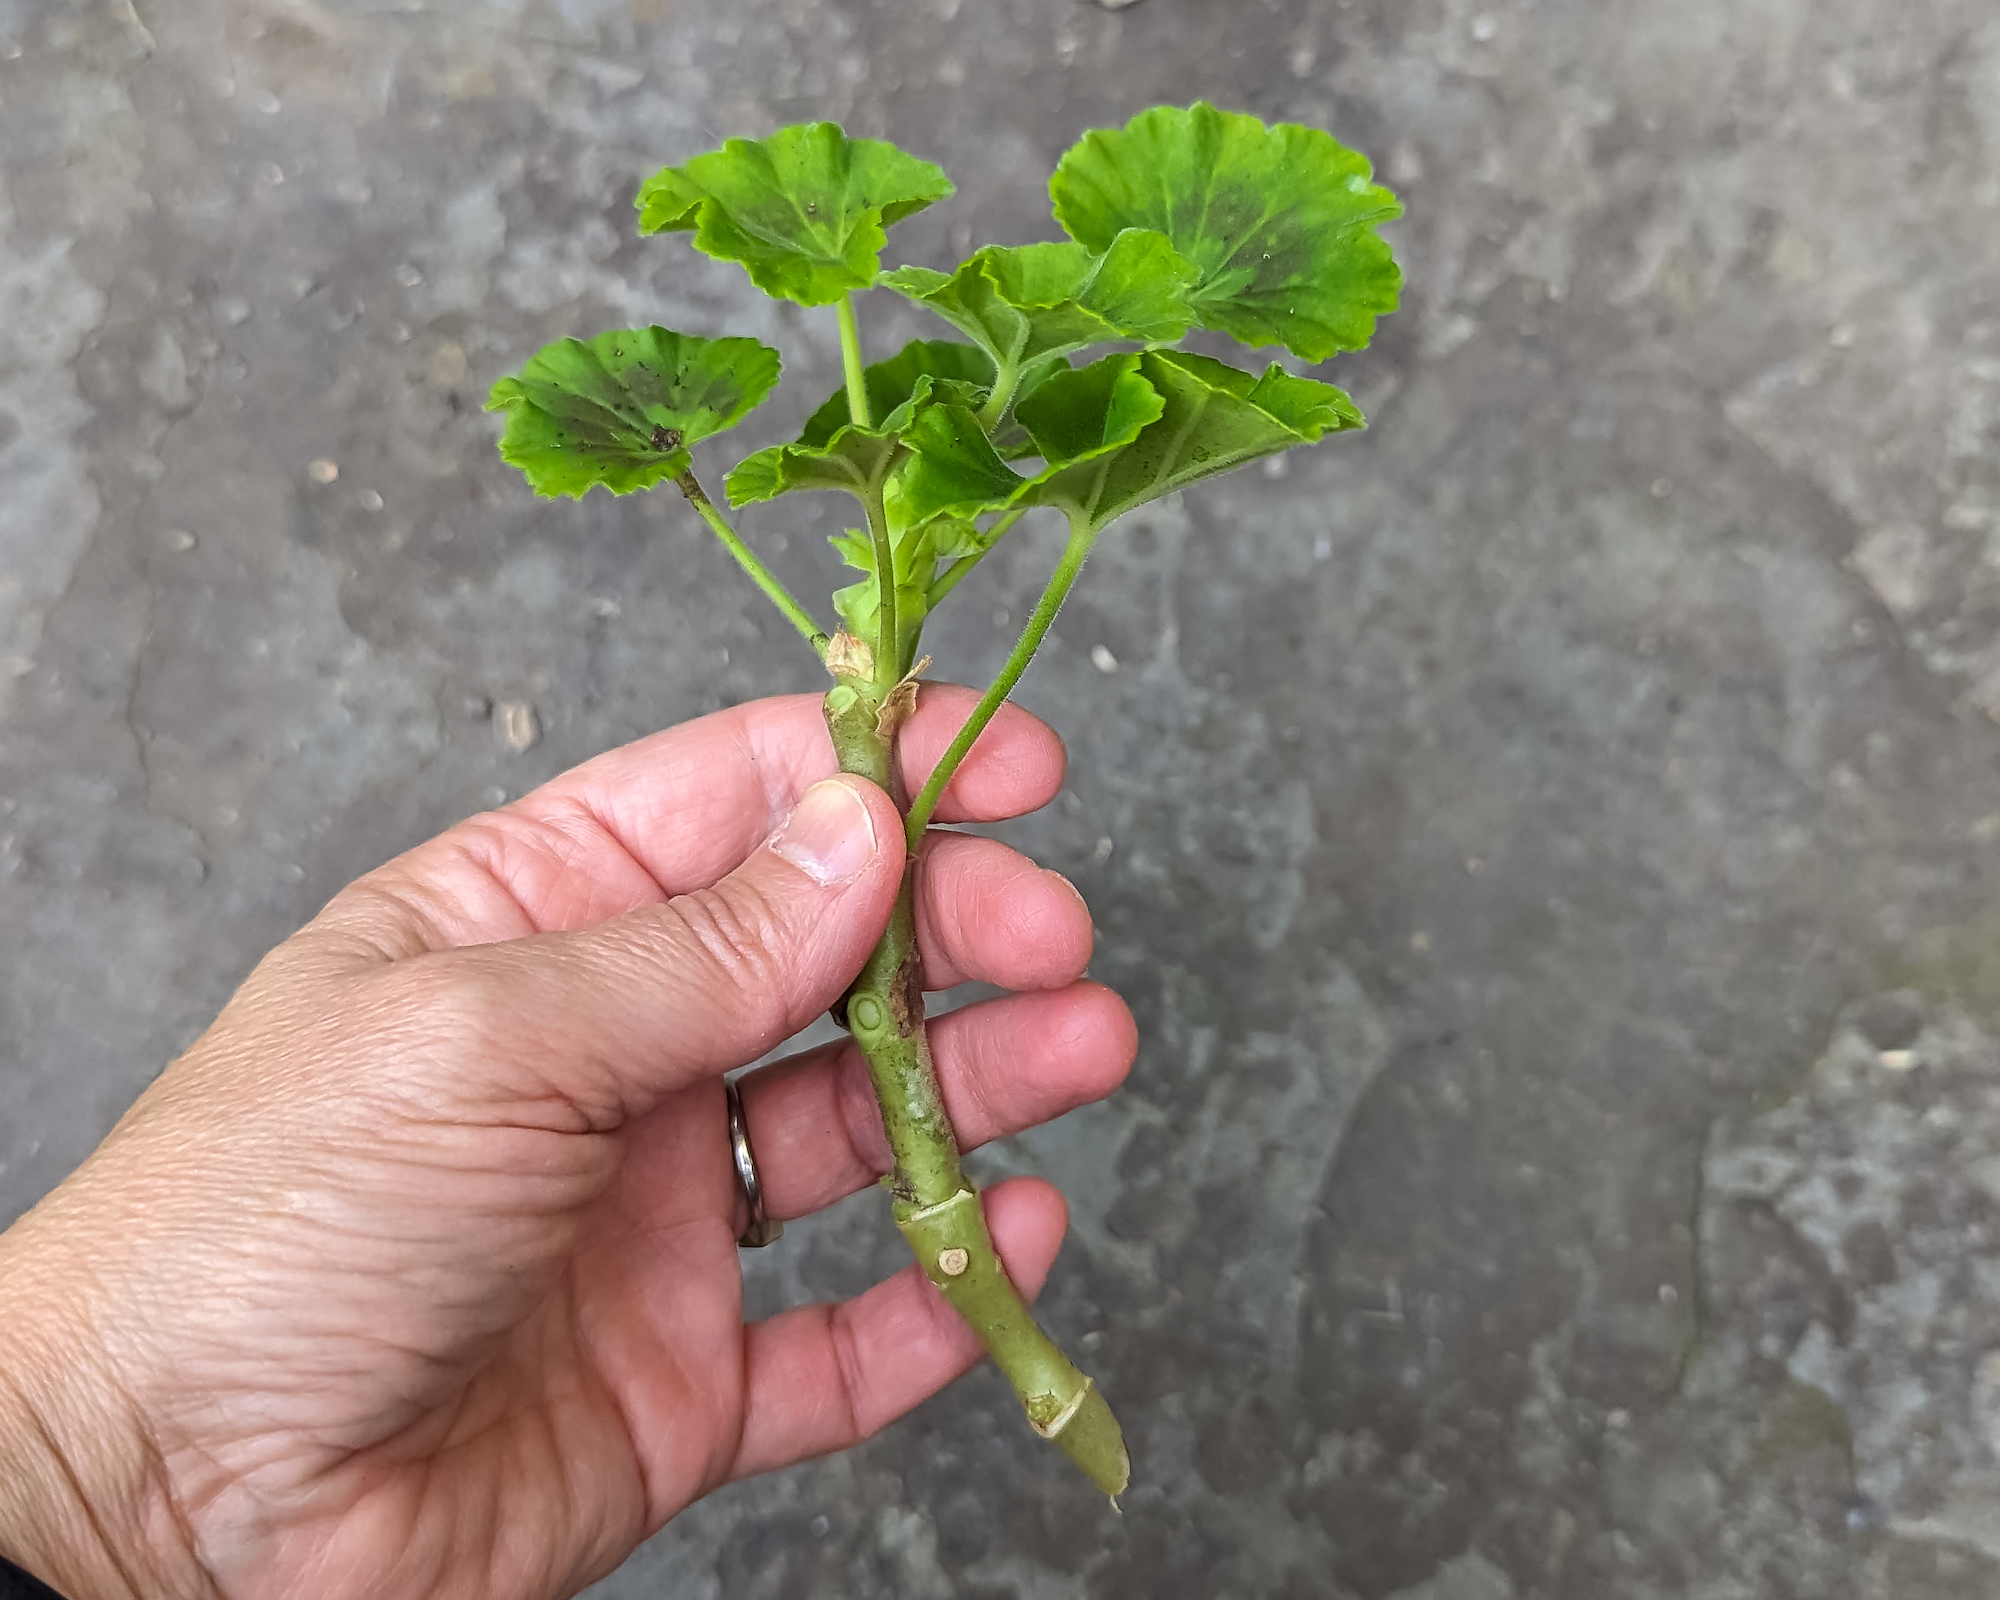
3. Once you have your cuttings, remove any blooms or leaf buds that look like they could be flowers.
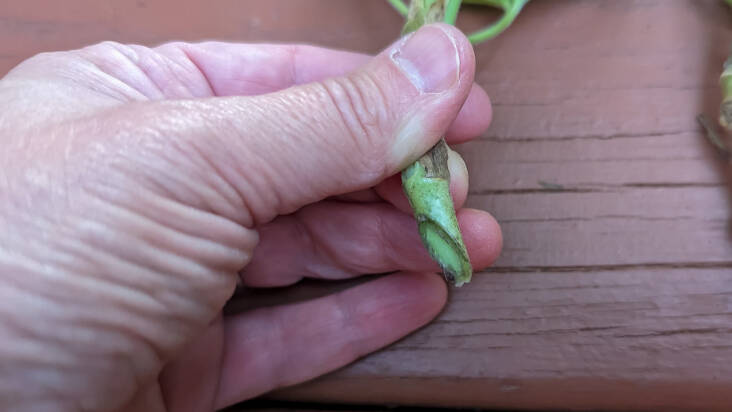
4. Trim the bottom of the stem on an angle so that the entire cutting is about six inches long.
5. Using scissors, trim back the leaves about a third to relieve stress on the cutting. Less leaf coverage means less work for the plant and allows it to focus on growing roots.
How do you root the cuttings?
There are two ways. The easiest is to plop them in a glass jar with water and place it in a bright window, out of direct sunlight. Your cuttings just went through quite a bit and are in a fragile state. No direct sun for them at this time. Change the water daily.
The other option is using sterile potting soil and rooting hormone. Rooting hormone is just that—a product that helps plants make roots.
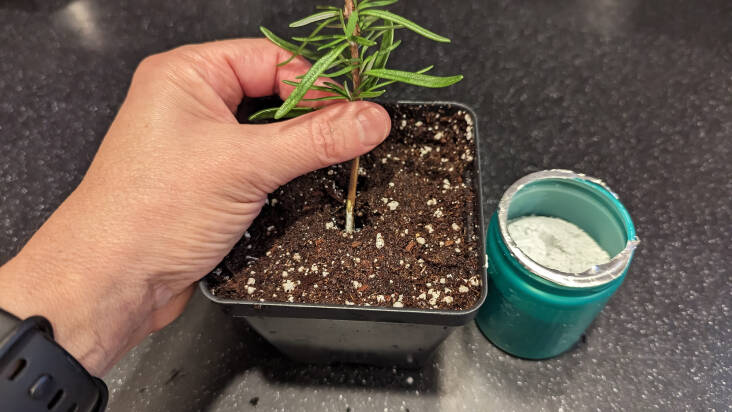
After you have your cuttings, fill small growing pots with soil. The soil should be damp. Make a hole with a stick or your finger to receive the cutting. Dip the cutting in the rooting hormone, about an inch deep, and insert it in the hole. Tap the soil down around the cutting.
One more additional step may be needed. Since winter indoor heating tends to be dry and overall humidity levels are low, you can cover the now potted cuttings with a plastic bag to increase humidity. This process can yield faster results but needs more attention. You need to make sure the soil never dries out or becomes too wet. You have to monitor for fungus infections. You can’t let the plastic bag touch the leaves. The plastic bag can be removed after a week to 10 days depending on how dry your home is.
How to tell when you’ve succeeded?
For the ones propagated in water—it’s easy! Once you see the roots, move them into soil-filled pots, avoiding direct sunlight for a week or so. Moving them into pots can cause root damage, so be extra kind to them for a week or so.
For the ones in the soil. The most obvious sign is new top growth. However, if it’s been a while without new growth, check with a gentle tug on the stem. If a very gentle tug on the stem is met with resistance, you have roots.
Finally remember the amount of light inside is remarkably less than what your plants were used to inside. They may show their unhappiness by dropping leaves. This is normal. Give them time and and some TLC, and they will recover.
See also:
(Visited 4 times, 2 visits today)