Wallpaper, more than any other decorative element, can add personality and charm to your home. Yet, navigating how to choose and install the wallpaper can be tricky, leading to common wallpaper mistakes that mar the finished room design.
From choosing wallpaper of the wrong scale to improper measurements, these mistakes can damage the aesthetics and even damage walls if not addressed. Understanding these typical wallpaper mistakes is crucial for achieving flawless wallpaper in any room of your house.

Common Wallpaper Mistakes
Wallpapering is a skilled job that requires careful planning and preparation. While you could hire a professional to do the job for you, doing it yourself will save you money. Just be sure that before you begin, you understand the process, have the appropriate tools, and set aside a good amount of time for the careful work of wallpapering.
Choosing the Wrong Scale Wallpaper

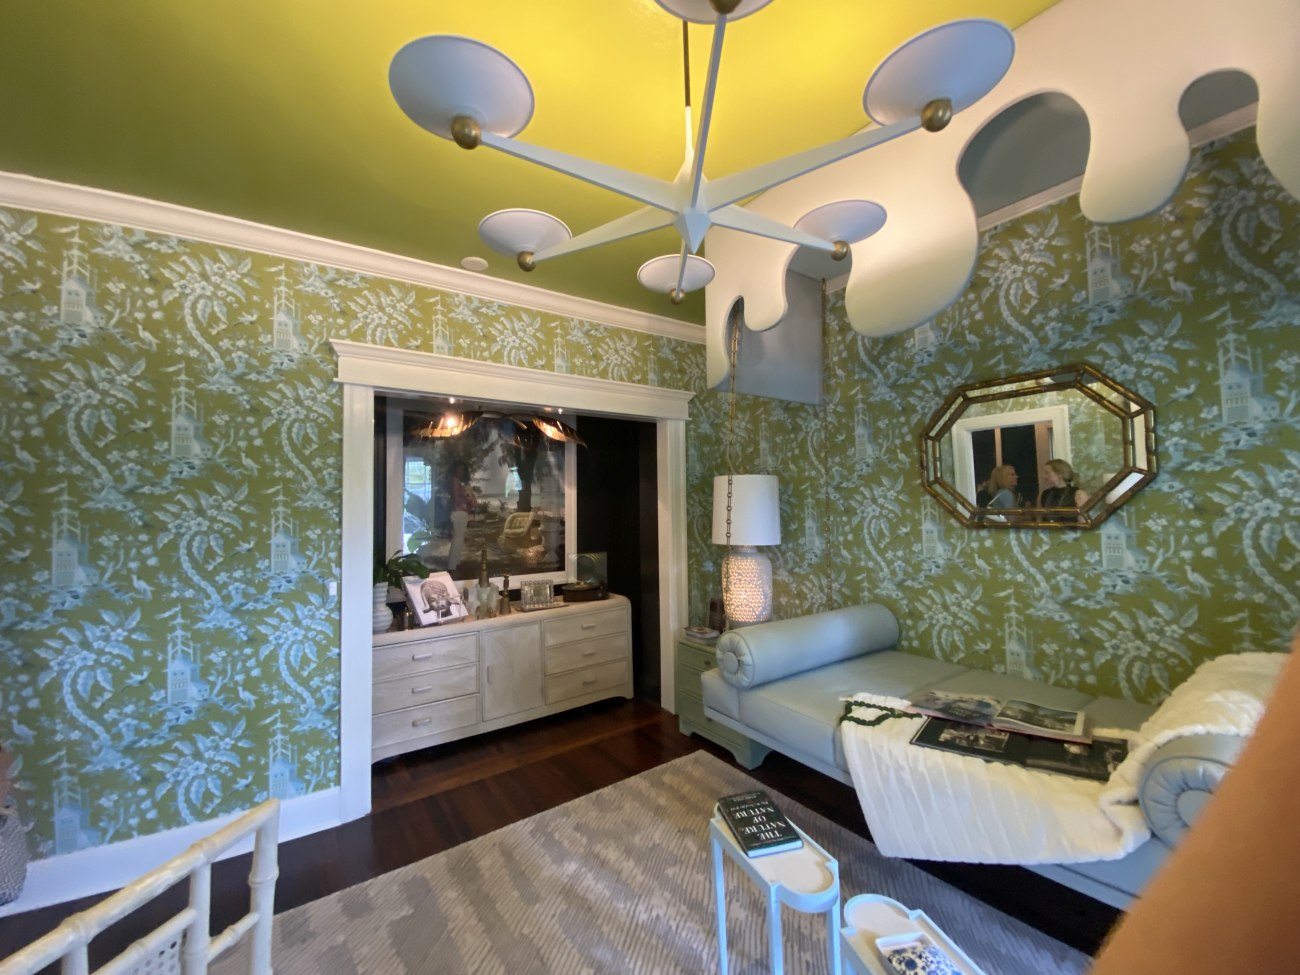
Wallpaper can give a room a distinctive style and appearance, so you should be mindful of the look that you want to create when choosing a wallpaper pattern. Large patterns will dominate a room and become the focal point, while small patterns work quietly in the background, forming a foundation for the rest of the design. Take your time when choosing the pattern size of your wallpaper to ensure that it complements the design of the room while also taking into account the scale of the furniture, the colors, and the area where the paper will be installed.
Improperly Measuring for the Amount of Wallpaper

It is critical to be as precise and meticulous in your measurements as possible to ensure that you purchase the appropriate amount of wallpaper for the job. Begin by gathering measurement tools, such as a tape measure or a laser measuring device, as well as a recorder and calculator.
Measure the height of your walls first, starting at the lowest point from which you will hang the paper; record the height of each wall you are papering. Take several vertical measurements along each wall to identify any inconsistencies. Next, measure the length of each wall you are going to paper from corner to corner. To calculate the total square footage, multiply the length of each wall by its height. Finally, measure the area of the openings in the walls, such as windows and doors, and subtract this from the total square footage.
Once you have calculated your final number, you will need to add an extra percentage for pattern repetition and waste. For intricate patterns, you should increase your square footage by at least 25%. Small repeating patterns will only require an additional 15%.
Choosing Wallpaper of the Wrong Material for the Location

Wallpaper is made from a variety of materials that have different durability. Buying wallpaper for a specific location without considering how that location will affect the wallpaper will cause premature wear and tear and difficulty in maintenance.
Vinyl and vinyl coated wallpaper are some of the most durable types because they feature vinyl material or a top layer that makes them impervious to moisture and easy to clean. This makes them ideal for humidity prone environments like bathrooms as well as high-traffic areas where you may need to wipe them down. Vinyl wallpaper is also resistant to tears, scratches, and stains.
Classic types, such as traditional paper wallpapers, work well in bedrooms, dining rooms, and other low-traffic areas. Delicate wallpaper styles such as grasscloth, fabric, foil, and textured will suffer in areas with high moisture or traffic. By taking into account the characteristics of each type of wallpaper as well as the functionality of each room, you can select a wallpaper that will support the room’s function while also providing durability for the space.
Not Preparing the Walls Before Wallpapering

Skipping the wall preparation step before wallpapering is common because this is not as exciting as transforming your space with wallpaper. But preparing the wall correctly is the difference between a wallpaper job that looks good and lasts and one that doesn’t. Not prepping the walls can lead to poor adhesion, bumps and dips that show through the paper, moisture that builds up behind the wallpaper surface, and difficulty in removing the wallpaper.
It is critical that you remove any old wallpaper, clean the walls to remove any dust or grime, repair imperfections such as cracks, holes, or uneven surfaces with spackle or drywall compound, and prime the walls to create a better base for the wallpaper adhesive. This will extend the life of the paper and provide the smoothest surface for the wallpaper application.
Applying the Wrong Type of Adhesive

Not every wallpaper requires the same adhesive. It is essential to read all of the instructions on the type of adhesive you should use if you want to guarantee correct adhesion and safeguard your ability to remove the wallpaper at a later date.
Some types use standard wallpaper paste, though these differ in whether they are applied to the wall or to the wallpaper itself. Other wallpaper types use specialty varieties, such as those designed for high moisture areas, and still others, such as peel-and-stick wallpapers, do not require any adhesive. It is also critical to consider the type of surface to which you will be applying the wallpaper, such as drywall, plaster, or wood, as each may require a different adhesive type.
Beginning in the Wrong Location

Starting in the wrong place can make your transition more visible or result in a lack of centering. The “right” location will differ depending on whether you are applying the wallpaper to a single wall or area or to an entire room. If you are applying wallpaper to a single area or wall, start with a focal point, then hang the wallpaper from there and work your way out on both sides. When wallpapering an entire room, begin in the least visible area of the room. This means that if your seams do not perfectly match or there is an awkward wallpaper panel width, it will be hidden in the least obvious place.
Not Using a Level to Begin the First Panel

Using a level or chalking a plumb line to hang your first wallpaper panel is critical for a professional-looking installation with straight lines, even seams, and little waste. Deciding to hang the first panel based solely on what appears to be straight can result in a mistake that will become more obvious with each subsequent panel. You will have to either correct it when the pattern becomes more clearly crooked, or live with a sloping pattern.
Stretching the Wallpaper

As wallpaper dries, it will shrink slightly, so it is vital that you not stretch the wallpaper, as it will shrink and leave gaps in the wallpaper. This is a common wallpaper installation mistake, as it is easy to want to lay the wallpaper and press it too firmly to smooth it out completely.
To avoid stretching, it is vital to follow proper installation techniques. Some of these include allowing the wallpaper to relax after applying the adhesive. Use a smoothing tool to gently press out bubbles and excessive adhesive without applying strenuous pressure as you do so.
Not Smoothing the Wallpaper Bubbles

While overpressing can lead to wallpaper shrinkage, not smoothing out the wallpaper enough will create an uneven appearance and detract from the professionalism of the look. Bubbles under the surface can also make the wallpaper more vulnerable to stretching, tearing, or lifting away from the wall.
To avoid unsightly bubbles, it is crucial to smooth them out during the application process. You can achieve a smooth finish by using a smoothing tool to gently press out bubbles and excess adhesive. Do this by smoothing carefully rather than pressing and stretching the wallpaper, which can cause the wallpaper to shrink as it dries.
Overlapping Seams

Overlapping seams is not necessary to create invisible seams, this technique can actually create bulky seams that are more visible. Rather than allowing any overlap for seams, you should endeavor to bring wallpaper seams tightly together with no overlap. If it is difficult to get the edges to meet perfectly, use the roller to align the seams better. Be careful not to press too much, or this will cause the seam to drip adhesive and remove it from behind the seams. This will lead to weak seams that will come apart more easily.
Neglecting to Wash Down the New Wallpaper

Not washing down the wallpaper is an easy step to overlook in your excitement and enjoyment of your new walls, but it is essential for a professional appearance. Washing down wallpaper removes adhesive residue, which can attract dust and dirt and eventually discolor the wallpaper. Wallpaper paste will also leave shiny spots on the surface of the wallpaper.
Using a damp sponge, gently but firmly wipe down the wallpaper. Proceed systematically over the surface to ensure that you don’t miss any spots.